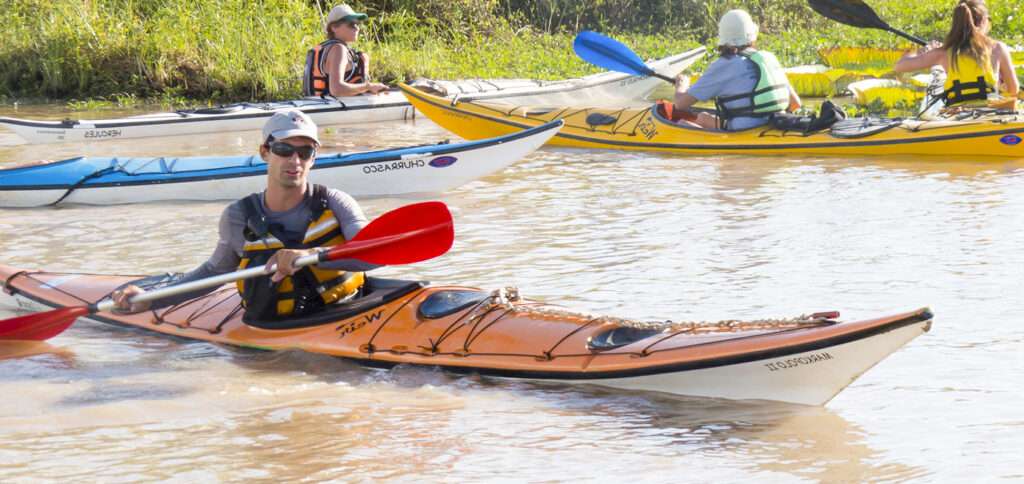
After the forward stroke, no kayak move is more frequently used than the low brace. Whatever your kayaking passion—sea paddling, whitewater, surf—you’ll call on your low brace at the first sign of instability. So you’d better get it right.
The most important thing to remember about a low brace is that your paddle blade merely stops your downward momentum when you lose your balance. You regain your balance by rotating the boat back underneath you with your hips.
1. The low brace is powerful, effective, and safe only when your body is properly aligned. From your normal paddling position, place your paddle shaft on your spray deck and pull it in tight against your belly. Now stick your elbows straight out to the sides, like a gorilla walking on its knuckles.
2. For a left brace, the back of your left blade should be flat against the surface of the water, or just above it. Change the blade angle by swinging the forearm of your control (left) hand slightly forward or backward—as if it were a pendulum hanging from your elbow.
3. Slide your left hand a few inches away from your left hip until your forearm hangs straight down from your elbow. Your left shoulder, elbow, wrist, and hip should all be in the same plane, and should roughly outline a box. With the paddle held low across the cockpit and close to your belly, you’re ready to brace powerfully and safely.
4. If your kayak is carrying momentum—either because it’s being pushed by a wave or because you’ve just been paddling—then simply trailing your paddle blade on or just below the water surface provides plenty of stability. Keep a flat blade or a very, very slight climbing angle. As long as your kayak keeps moving, you can apply significant pressure to the blade.
5. In the case of a loss of balance, use a hip-snap to pull the hull of your kayak back under your body. Remember, you’re not pushing your upper body back over the center of the kayak; you’re using your lower body—the hips and knees—to draw the kayak back under your head.

