If you’re a kayak fishing enthusiast, you know that equipping your kayak with the right accessories can dramatically enhance your fishing experience. One such accessory is a RAM rod holder. These holders are sturdy, adjustable, and designed to accommodate various types of fishing rods. While the installation process is straightforward, it does require some careful planning to ensure stability and ease of use.
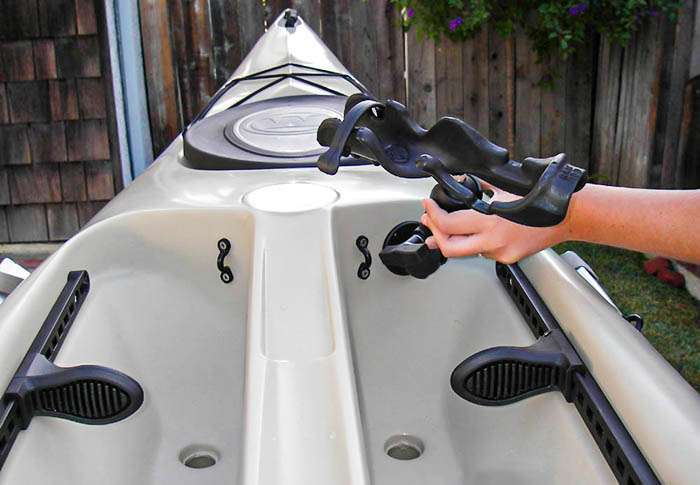
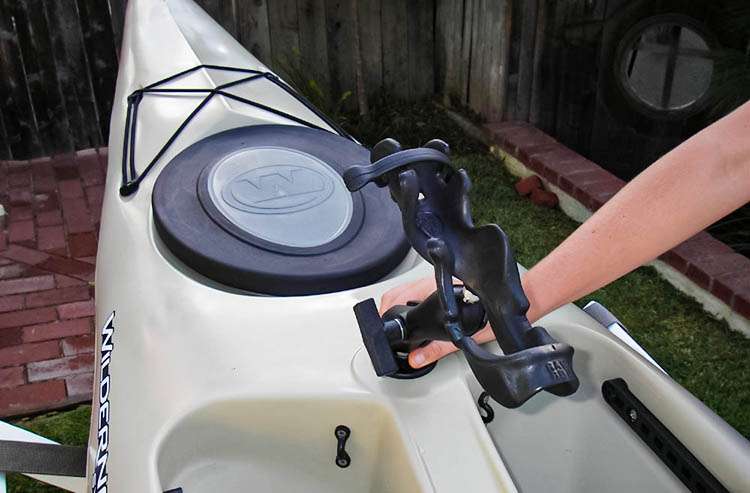
Step one: Find an area that is strong enough to support the rod holder. You want to identify a spot that is not only firm but also convenient for you when you’re in the fishing action. The ideal location would be close enough for easy reach but not so close that it interferes with your paddling. The area should be flat with sufficient space to fit the base mount comfortably. Push on the area. It should feel solid and sturdy, demonstrating that it can hold up the weight of your rod, especially when it is battling a hefty catch. The back side of this area should be easy to reach for you. This will ensure that you can easily handle your fishing rod and will also facilitate the installation process.
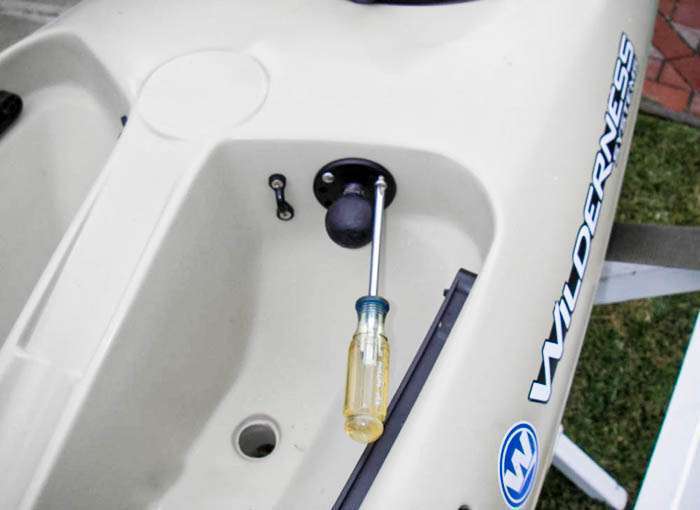
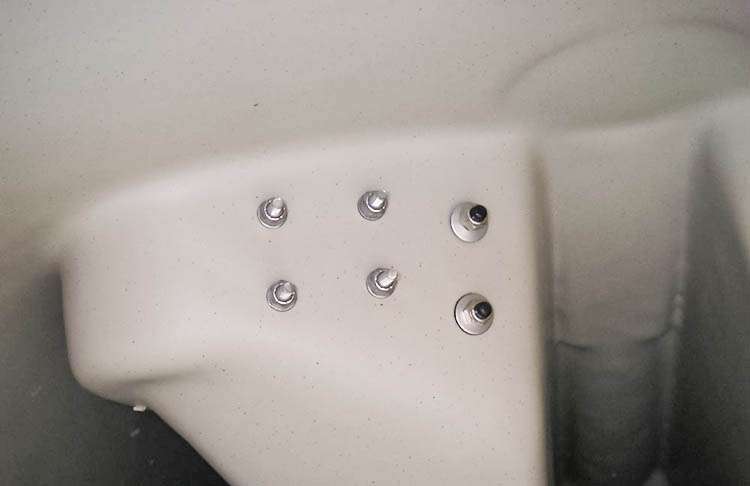
Step two: Using the base mount, lay out the holes. This step requires accuracy and precision to ensure a secure fit. Position the base mount on the chosen area and mark where the holes will be. Make sure the hole markings are evenly spaced, as this will provide better support for your rod holder. You can use a marker or a sharp object to mark the spots.
Now it’s time to drill. Drill one hole and hand tighten in one bolt. Remember to keep your drill perpendicular to the surface of your kayak to ensure a straight hole. After the first hole is drilled, insert the bolt to keep the base mount in place. This step is crucial as it prevents the base mount from moving around when you drill the other holes. After that bolt is set, drill your other holes.
It’s important to use the right size drill bit to ensure a snug fit for the bolts. Drill the holes using a drill bit just a size smaller than the bolt. This tight fit is essential as it creates a strong, secure hold. For example: If a 3/16″ holes lets the bolt go in the hole easily, use a 11/64″ bit so you will need to screw the bolt in the hole.
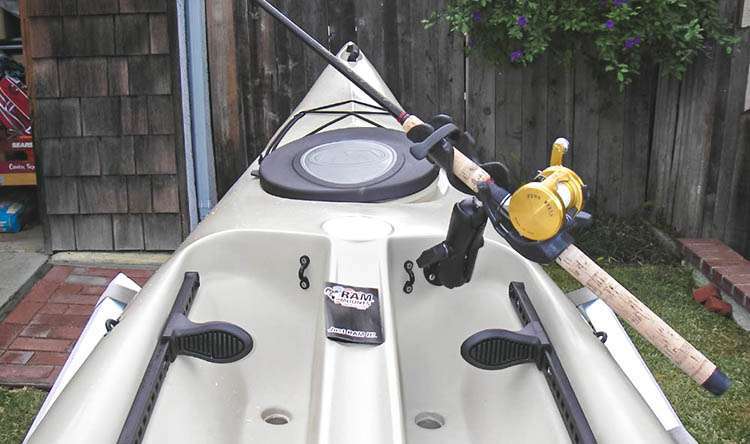
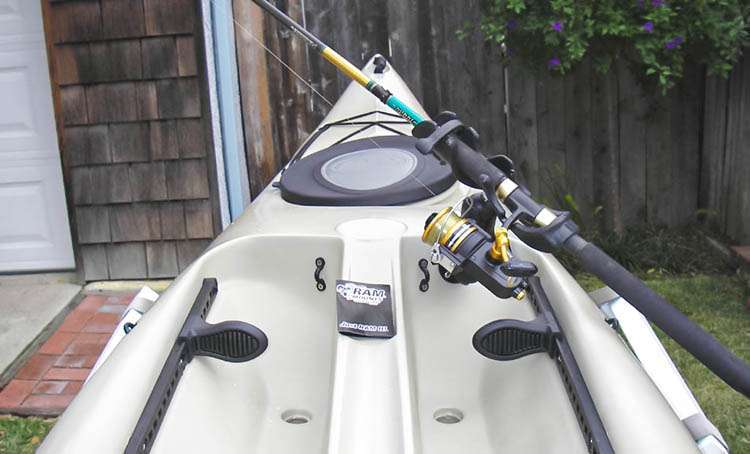
Step three: Screw in bolts and hand tighten. Insert all the bolts into the drilled holes, starting from the one you initially set. Tighten each bolt by hand before proceeding to the next to ensure the base mount stays properly aligned.
Now, it’s time to secure the bolts. Put the washer and the nut on and tighten down. The washers provide a flat, solid contact area for the nuts, helping to evenly distribute the pressure applied when tightening. The nuts, preferably lock nuts for their added security, ensure that the bolts stay firmly in place, even during rough water conditions.
In general, we recommend using bolts, washers, and lock nuts when you can reach the underside of the area you are mounting the rod holder to. This provides the most secure and durable installation. However, accessibility might sometimes be a challenge depending on your kayak’s design. If you can not reach the underside, then rivets should be used. Rivets also provide a strong hold, and they are easier to install in areas that are hard to reach. However, keep in mind that unlike bolts, rivets are not removable or adjustable once installed.
Congratulations! You have now successfully installed your RAM rod holder. This new addition to your kayak is sure to enhance your fishing experience, providing a secure and convenient place to hold your fishing rod as you navigate the waters.
Remember, proper maintenance is key to prolonging the lifespan of your rod holder. Always rinse it with fresh water after each use, especially if you’ve been fishing in saltwater. This will help prevent corrosion and keep your rod holder functioning optimally.
Also, inspect the holder and its mounting regularly for any signs of wear or damage. If you notice any loose bolts or rivets, tighten or replace them as needed.
