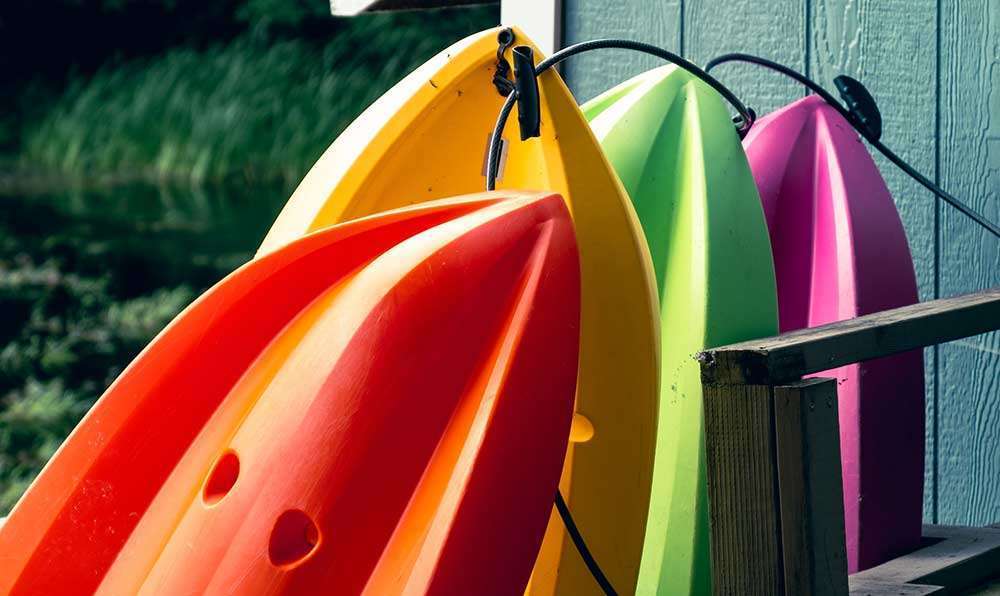
Before you can go kayaking, you have to get your boat to the water and sadly this usually means carrying it. “Many hands make light work” so it’s always a great idea to get your paddling partners to help haul your boat, but if your kayak is light enough, or if you’re strong enough, you may sometimes want to try a solo carry. As with most endeavors, good technique can make this a lot easier.
Kayaking is not only about paddling through the waters, but it’s also about how you handle your vessel on land. Proper handling and carrying of your kayak ensure that your water adventure is safe and enjoyable from start to finish.
Most importantly, remember to bend your knees and keep your back straight whenever doing any lifting. The last thing you want to do is injure your back.
For most people, the biggest challenge of a solo carry is getting the kayak onto their shoulder in the first place. The best way to get the boat up there is to do it in 3 distinct steps.
3 Steps to Carry A Kayak All By Yourself
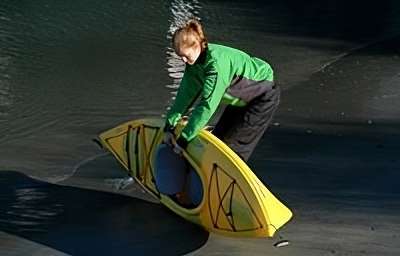
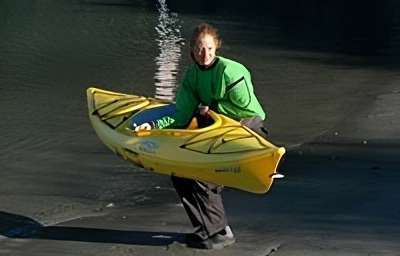
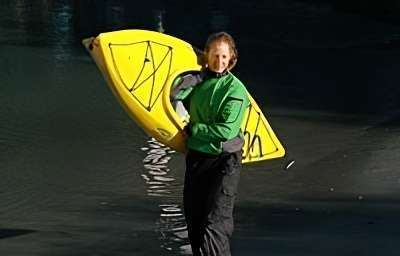
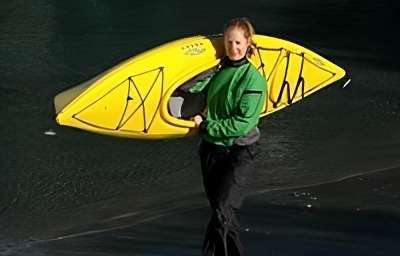
Step 1
First, decide which shoulder you want to carry the boat on. If you setup with the boat’s bow to your right, then the kayak will end up resting on your left shoulder. Setup with the bow on your left, and it will ride on your right shoulder. Start by rolling your boat onto its edge with the cockpit facing away from you, and its bow pointing in the direction that you want to go. While all kayaks are slightly different, the point of balance of a boat is typically about where your hip is when you’re sitting in the seat. With the boat on edge, lift it slightly off the ground and feel for the point of balance. This is where you’ll want it resting on your shoulder.
It’s crucial to familiarize yourself with the weight and balance of your kayak. Every kayak has its unique balance point, which can significantly affect your carrying experience.
Step 2
Second, with a solid two-handed grip on the cockpit rim, lift the boat onto your thighs, cockpit out. As always be sure to keep your legs flexed and your back straight. This is actually a very solid position, and it should be quite comfortable to have the boat resting on your thighs. If it feels as if you are still fighting to hold the kayak in place, simply bend your knees more, presenting a flatter surface for your boat to rest on, letting the muscles in your legs do the work of supporting the boat.
The second step is crucial as it transitions the weight of the kayak from your arms to your legs, which are stronger and better suited for holding heavy weights. This step also prepares you for the next move, making the process smooth and less straining.
Step 3
Third, reach palm-up across the cockpit with the hand closest to the stern, and secure a firm grip on the cockpit rim. Now roll the boat up onto your shoulder by doing a curl with your ‘stern hand’, while the ‘bow hand’ pushes out, helping with the rolling action getting the boat up onto your shoulder.
This rolling action utilizes the principles of leverage and body mechanics, ensuring that you use minimal effort to get the kayak on your shoulder.
Once the kayak is on your shoulder it’s usually pretty easy handling the weight, but it can be pretty awkward maneuvering. Be particularly mindful of the stern of the boat, which is hard to see over your shoulder, and remember that boats don’t tend to flex around corners!
Being mindful of your surroundings, especially when maneuvering around corners or through narrow passages, can prevent potential accidents or damages to your kayak.
To put the kayak back down, simply reverse the steps.

