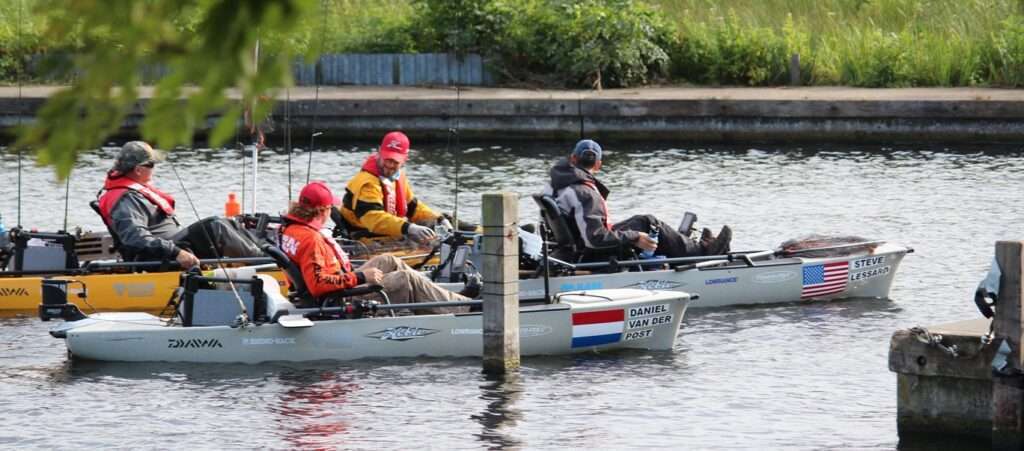
Every person dreads the first time they have to drill holes in their kayak. The bigger the hole – the more anxiety. I know when it came to the point of drilling holes in my kayak, it nearly made me sick. Even worse, when the time came for me to cut larger holes in my kayak, I felt even worse. Here are some of the tips that will help reduce your anxiety levels.
Rule # 1
Never drill a hole below the water line of your kayak.
If you don’t know the approximate water line of your kayak; put it in the water, load it with all of your gear, then sit inside the kayak and scribe the water line on the side of your boat.
Rule # 2
Always pre-plan how your kayak is going to look before you ever get started drilling holes.
If you mock-up your kayak before drilling holes, you’ll be able to avoid goofs like putting rod holders in a place were you were needing an anchor cleat.
Rule # 3
After you check everything out, crawl into the cockpit of the kayak and test it.
Validate that you will be able to comfortably reach your rod holders or other accessories. Sometimes, you’ll find that it’s a good idea to install items like rod holders further away from your seat back. This way you can turn around and reach the rods, as opposed to trying to torque your body around and reach rod holders that are installed way too closely.
Rule # 4
Measure where you want your holes, mark them with a magic marker, then measure them again to validate their location.
It’s a good idea to run through Rules 1, 2, and 3 again to confirm that everything is exactly where you want it.
Once you’ve finalized the location of where you need to drill your holes, now comes the easiest part – drilling them. Just drill each of the holes all the way through the hull. You might want to use a slightly smaller hole diameter than you need for your attaching hardware. This tight fit will help keep the water from passing through the hole so easily.
It’s always a good idea to save the shavings from your holes. You never know when you will need plastic to melt into the holes you would like to fill. Not to mention, the plastic from the shavings match the original color of the kayak!
After the holes have been drilled, you will want to seal them with some clear RTV silicone. You can get RTV silicone at any hardware store like Home Depot, Lowes, etc. Just run a small bead of silicone all the way around each hole. Make sure you use enough silicone to completely fill the gap between your kayak and the equipment you are mounting.
Now comes the time to position the equipment over the holes. Take the hardware and place it into position over the holes and press it down into the wet silicone so it spreads evenly and seals up all the way around the hole. It’s a good idea to give the silicon 24 hrs to completly dry.
It’s always a good idea to spend a few extra dollars for stainless steel hardware to secure your equipment to the kayak. If you don’t use stainless steel, your non-stainless (AKA: Cheaper) mounting hardware will rust, stain your kayak, and most likely corrode to the point where you won’t be able to loosen it in the future.

