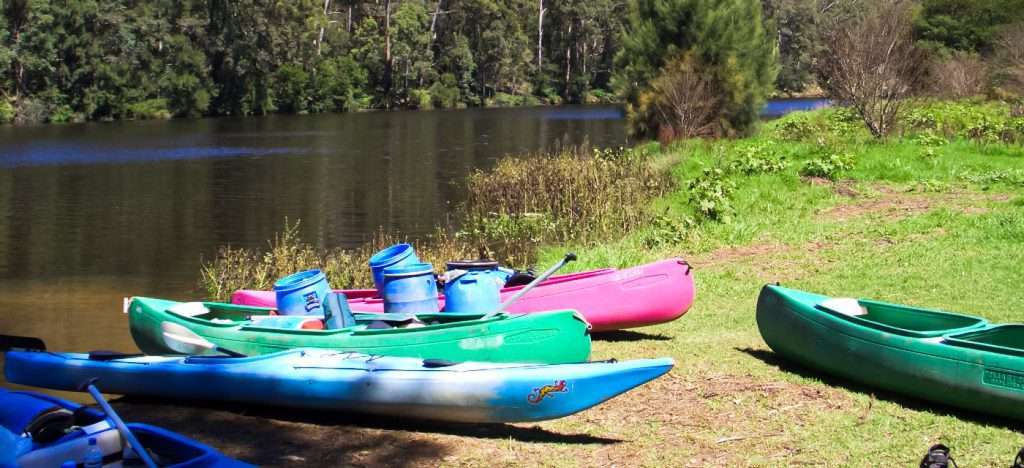
If you own a kayak and keep it outside without a shelter, you’ll want to cover it up. Though kayaks are made to be tough, eventually the sun, rain and other weather elements will eat away at its durability and life span. You can purchase your own kayak cover, though it might be a bit pricey. It’s quite possible, though, to make your own. It might not be the prettiest kayak cover in the world, but it will suit the purpose of protecting your kayak from the elements. Read on for some tips to making your own kayak cover.
Things You’ll Need:
- Measuring tape Tarp Elastic Scissors Sewing machine
- Measuring tape
- Tarp
- Elastic
- Scissors
- Sewing machine
Instructions
Step 1
Measure your kayak from bow to stern, as well as the width. Since you’ll want your cover to cover at least half of the boat’s depth, measure it from top to bottom and divide that figure in half. This will be how far the cover will go down on each side of the kayak. Remember to allow for all sides when figuring your measurements for cutting out the cover. For example, if your kayak is 6 feet long and the side measurement is 8 inches, you’d need your cover to be 7 feet 6 inches long. This takes into account the 8 inches for the front and back end sides of the kayak. If your width is 3 feet wide, you’ll need to add those 8 inches to each side of the 3-foot measurement. You’ll need 4 feet 6 inches of material to completely cover the width and the sides. For a 6-by-3-foot kayak, you’d need a piece of material that’s 7 feet 6 inches by 4 feet 6 inches.
Step 2
Purchase a tarp at your local department or outdoors store. Tarps come in a vast array of sizes, so you should be able to find one that’s suitable for you to make your kayak cover. You’ll also need to purchase elastic that’s approximately 1 inch wide. You’re going to need 5 feet of elastic, so check the package you’re purchasing to make sure there’s enough. Buy an extra package just to be on the safe side. It’s better to have too much of a supply than not enough.
Step 3
Lay the tarp on a flat surface and mark your measurements where you’ll be making your cuts. When cutting out the section for the bow of the kayak, you can round off your cut as it goes toward the center of the front. Be cautious not to cut off more of the tarp than necessary. This will make the tarp less bulky in the end, since the bow of the kayak is not as wide as the section where you sit.
Step 4
Cut the elastic in four strips. You want the strip that is for the front of the cover to be 2 feet long and the three other strips to be 1 foot long each. Place a mark at the center of the front of the cover, as well as the back. Fold your elastic in half and mark it. Place the center of the elastic on the center mark of the tarp and pin them together. Stretch the elastic out and pin it to the tarp as you go along. The tarp will take on a puckering, but that’s what you want it to do. Once you’ve pinned the elastic on the tarp, slowly sew it on, stretching the elastic as you sew, so the tarp does not pucker while sewing. Repeat this step on the opposite end of the tarp.
Step 5
Mark where the center of the side of the cover is on both sides. Mark the remaining two pieces of elastic in the center and pin together as you did with the front and back sections. Pulling the elastic tight, pin to the tarp. Sew the elastic and tarp together, pulling any puckering out of the tarp as you sew. Place the finished product over your kayak, and you’ve now got a new kayak cover.

