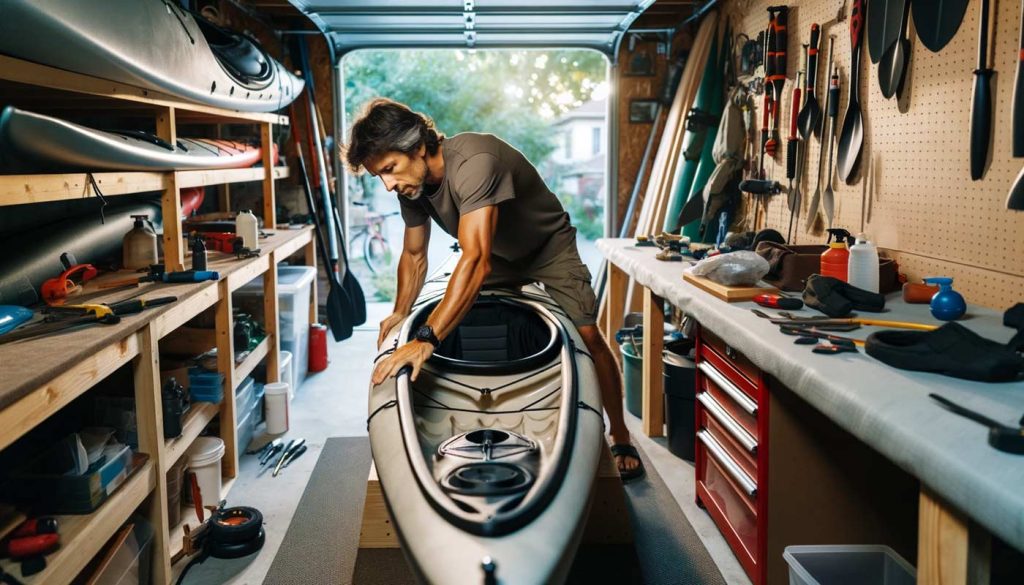
If you own a commercially made sea kayak, the odds are that the forward bulkhead is far enough forward to seat a NBA basketball player quite comfortably. Most paddlers are shorter than this and the bulkhead ends up too far forward. That means that the floodable volume of the cockpit is greater than it needs to be and the volume of the forward dry storage compartment is less than it could be. Moving the bulkhead can recover some of this volume to your advantage. One disadvantage in moving the forward bulkhead is that the kayak can no longer be sold to a tall person.
Rear bulkheads are less of a problem, since there is less advantage to moving it. However, if you look at some of the well-made kayaks with curved and sloped rear bulkheads, you’ll realize the advantage of an easy-to-drain cockpit. Using pretty much the same techniques as you would for making a new forward bulkhead, you can replace the rear one.
First of all, decide whether you want to keep the footpegs and rails you currently have.
Ruddered kayaks are slightly more problematic, since moving the bulkhead means moving the sliding rails and ensuring there is still enough room for them to work. This is a good time to replace the sliders with fixed position, gas pedal footpegs. These can be fitted into a tighter space as they do not require room to slide.
Rudderless kayaks have footpegs that can be removed entirely. You can position the bulkhead so that you place your feet directly on the bulkhead for bracing. This means that the footpegs and rails are superflous and you get rid of that weight. If you choose this route, remember a few things:
- Make sure the final position is correct for all the footwear you use. If you are barefoot in the summer but wear heavy paddling boots in the winter, you want the position to be correct for both. Padding the bulkead with removable closed cell foam can make up the difference between each season’s best footwear.
- Make sure you can stretch your legs out. Sometimes it’s nice to take your feet off the pegs and straighten your knees. This will reguire a bit more room than when your legs are bent with feet on the pegs.
- Make sure you don’t make the kayak unusable for others that you may share with.
Once you decide on how you will deal with footpegs and location, cut out the existing bulkhead. It likely can’t be used again, so don’t worry to much about trashing it in the process.
To get the shape of the new bulkhead, use a flexible rule, heavy, stiff wire or other means to get the shape. Pressing a stiff wire around the inside of the kayak at the position of the new bulkhead will allow you to transfer the shape to a large piece of cardboard. When you think you’ve got a fair idea of the shape, cut out the cardboard and see how it fits in the kayak. Without a doubt, you’ll need to make a few adjustments.
You have to decide as well how tight you want the new bulkhead to be. A very rigid bulkhead tight to the hull can make a stress point in the hull. Some paddlers prefer to leave a tiny gap around a stiff bulkhead and fill the gap with sealer. Others will build up a fillet of fiberglass or Kevlar tape in such a way that it has some flex to it. Remember that if you are using the bulkhead for bracing, you will need a strong connection between the bulkhead and the hull. You can have flex and strength, but that takes planning.
Bulkheads can be made of:
- Composite, usually the same material as the rest of the kayak. This can be made with or without a core
- Rigid plastic such as ABS sheet as is used in some commercial kayaks.
- Marine Plywood (Okume) with or without fiberglass covering.
- Minicel foam. Bulkheads about 50mm (2 inch) thick are often used in commercial kayaks, especially plastic ones.
Now that you have the proper size and have chosen the appropriate material, cut the bulkhead to fit. Then use fiberglass tape, sealant or whatever other means is appropriate for your choice. Working with the kayak overhead and standing with your head and shoulders inside the cockpit is probably the most convenient. Remove the seat to make more headroom.
If you need to move the footpeg rail, it’s as simple as drilling new holes for the new position and filling the old holes. A brad-point drill bit makes a nice, clean hole. You can close the old hole by placing a patch of fiberglass or Kevlar on the inside of the hole and, once cured, cover the outside with a bit of gelcoat.

