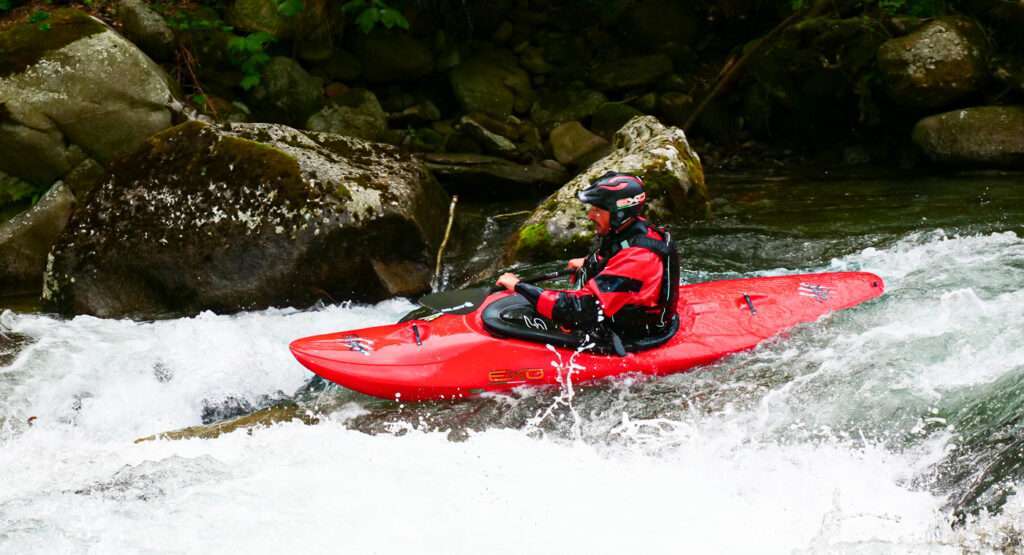
Rocks, sand and other debris can scratch your kayak while you are enjoying the water. This doesn’t mean that you have to replace your kayak but to make it more aesthetically pleasing and also help maintain speed due to friction, you should repair those scratches. Cosmetic scratches can be left alone but deeper and darker scratches can be repaired at home with the right tools. However when in doubt, head to your local shop to get the tools and advice you need to repair your kayak.
Instructions
Difficulty: Moderate
Things You’ll Need:
- Ski//snowboard wax scraper
- Polish
- Damp towel
- Gel coat for plastic kayaks
- Protective eye wear
- Heat resistant gloves
- Hair dryer or butane/propane blow torch
- Spoon or knife
- Heat source
Step 1
Inspect your kayak scratches. Truly superficial thin scratches are best off if left alone.
Step 2
Use a snowboard or ski wax scraper and gently scrape off and remove any curls of plastic below the water line.
Step 3
Apply polish to your kayak to fill in small scratches. Make sure to remove accessive polish with a damp cloth.
Step 4
Follow the manufacturer’s instructions and apply a thin layer of gel coat to begin with to any wider or deeper scratches.
Step 5
Add additional gel coat as needed till your scratches are filled in, using the damp cloth to wipe away any coat not needed.
Step 6
Plug in your hair dryer or torch to use for deeper scratches or if you do not have any gel coat. Put on protective eye wear and gloves.
Step 7
Run the hair dryer or torch on a medium to high setting over the scratches until they disappear making sure to keep the heat source far away enough to not truly melt or damage the kayak.
Step 8
Heating a spoon or knife and running it over scratches can also help to repair your kayak if you do not have a dryer or torch.
Step 9
Allow the kayak to cool and bond at least twenty four hours before hitting the water again.
Tips & Warnings
- Stop and check your work frequently to avoid damaging your kayak from excessive heat.

