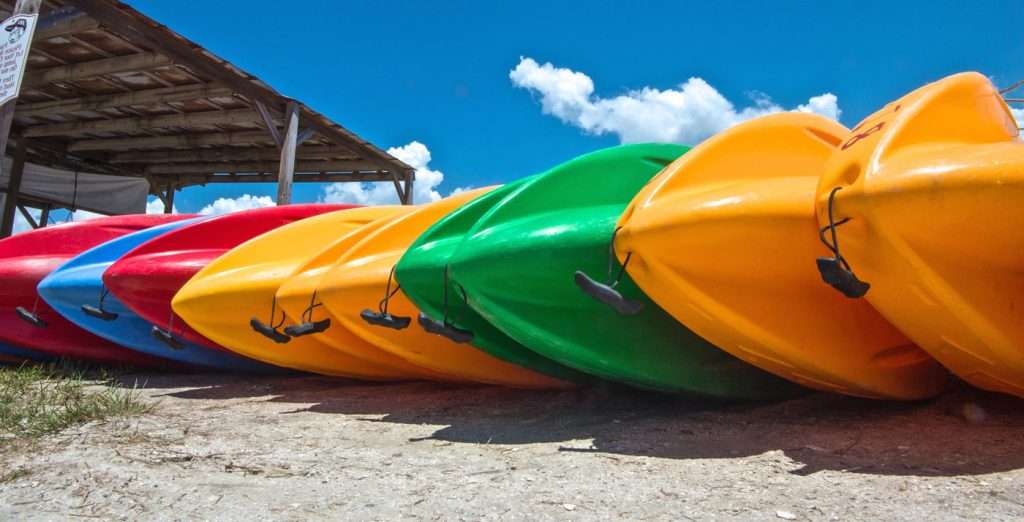
Canoeing is an activity that combines both the exhilarating and serene, and dedicated canoeists know that the heart of their sport is their boat. Each person has his own favorite of the dizzying array of types of canoes. But many true canoeists swear by the updated version of the classic: the cedar and canvas canoe. These crafts are also one of the favorites to make, and although it may take more than 300 hours to complete, you will have a true work of art along with a first class canoe.
Assembling the Canoe
Things You’ll Need:
- A canoe form (this can be another canoe or any type of form that will shape the canoe) 1 inch by 1 inch cedar planks 1 inch by 4 inch cedar strips Jig saw Metal bands Marine grade canvas (3-4 yards) Marine varnish Wood glue Sawhorses Woodworking clamps Sealant Finishing paint Brass tacks (approx. 2,000)
- A canoe form (this can be another canoe or any type of form that will shape the canoe)
- 1 inch by 1 inch cedar planks
- 1 inch by 4 inch cedar strips
- Jig saw
- Metal bands
- Marine grade canvas (3-4 yards)
- Marine varnish
- Wood glue
- Sawhorses
- Woodworking clamps
- Sealant
- Finishing paint
- Brass tacks (approx. 2,000)
Step 1
Place the frame on sawhorses and secure it so that it is stable. Cut the keel, or the horizontal frame of the canoe, from the 1×1 strips and clamp it to the frame.
Step 2
Cut the ribs of the canoe from the 1×1 cedar and use the form to shape them. Glue them to the keel at 1 foot intervals and apply the wood glue to hold them. Clamp them until dry.
Step 3
Begin applying the 1×4 cedar strips to the skeleton of the canoe. Secure them with the brass tacks and install the metal bands on the inside of the canoe so that the tacks “cinch,” or bite, into them for a secure hold.
Step 4
Trim the excess from the planks and sand all rough areas.
Step 5
Apply a coat of marine varnish and let it dry completely. Repeat this process three more times. Add seats and cross beams if desired.
Applying the Canvas
Step 1
Fold the canvas in half and place the canoe in the center. Pull tightly and attach to the inside lip of the canoe with more brass tacks.
Step 2
Carefully work your way around the canoe stretching and tacking as you go.
Step 3
When you reach a curved area, carefully split the material and pull tightly. Secure with tacks.
Step 4
Apply liberal coats of sealant and let dry completely.
Step 5
Apply a water-proof paint and any other embellishments you might want.
Tips & Warnings
- Stretching the canvas is not a one person job. Enlist the help of at least one friend.
- Stretching the canvas is not a one person job. Enlist the help of at least one friend.
- Test for sea worthiness before taking your canoe on open water. Reseal if necessary.
- Test for sea worthiness before taking your canoe on open water. Reseal if necessary.

