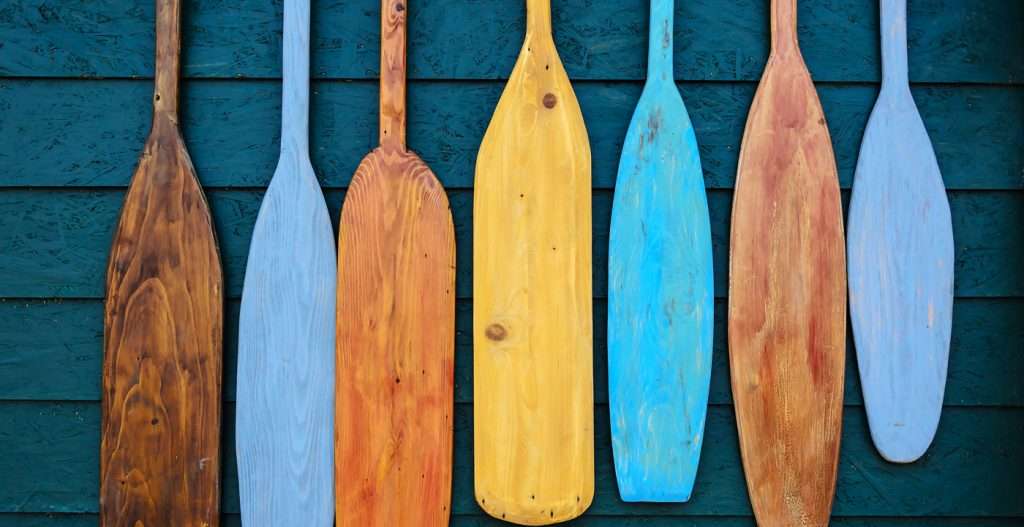
It’s no wonder that kayaking is one of the most popular water sports. It can be done on the ocean, a placid lake or fast-moving rapids and gives the kayaker the sense of independence and control. However, the equipment can be expensive so whenever you can cut corners without sacrificing safety, take advantage of it. Making your own kayak paddles is not only cost effective but satisfying as well.
Instructions
Difficulty: Moderate
Things You’ll Need:
- Piece of wood with no knots or imperfections (2 inch x 6 inch x 8 inch) Straight edge Pencil Band saw Block plane Sanding block Sand paper (coarse and fine) Clamps Optional: Varnish
- Piece of wood with no knots or imperfections (2 inch x 6 inch x 8 inch)
- Straight edge
- Pencil
- Band saw
- Block plane
- Sanding block
- Sand paper (coarse and fine)
- Clamps
- Optional: Varnish
Step 1
Using the straight edge and a pencil, sketch the form of the paddle onto the wood.
Step 2
Cut the form, or blank, out with the band saw. Use eye protection and appropriate safety gear.
Step 3
Fasten the blank to a work bench or table with the clamps. With the straight edge, draw a line down the center of the blade.
Step 4
Begin forming the shape of the paddle with the block plane. The wide center of the blade should be the highest point sloping toward the edges. When one side is complete, turn the paddle over and do the other side the same way.
Step 5
Shape the shaft and handle in the same way that you did the blade alternating between the planer and the sandpaper. To form the round shape, use the planer to shave eight sides in the handle and then smooth it with the sand paper.
Step 6
If you wish to add a finish, varnish the entire paddle and let dry completely.

