Fishing is not only about patience and skill, but also about having the right equipment at the right time and place. Kayak fishing has gained tremendous popularity over the years due to the flexibility and access it offers to fishing enthusiasts. But what’s a fishing trip without a proper rod holder to ease your efforts? In this blog, we will guide you step-by-step on installing a rod holder in your kayak – a simple DIY project that can significantly enhance your fishing experience.
Read and understand these directions before you drill any holes in your boat.
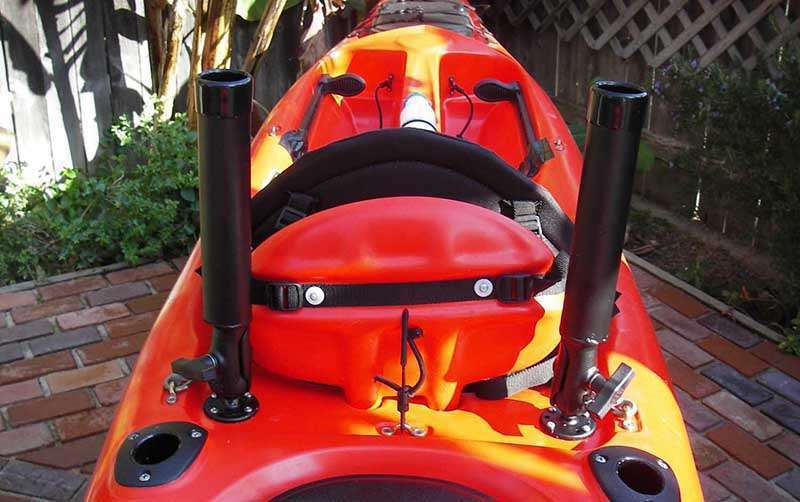
Parts and Tools needed: Dremel rotary tool; 1/16″ drill bit; 3-14×1″ Oval Phillips; Phillips screwdriver; Marine GOOP; sand paper.
Find a suitable area for the rod holder. This would be a place that is flat or very close to flat. The rod holder will need to be able to fit all the way into the kayak. Once you have an area in mind, go ahead and sit yourself in the kayak to make sure that you are comfortable with it’s location. Now you are ready to do the layout using the template. Take the template and place it on the area. Turn the template so that the rod tip will be pointing in the direction that you want it to point. Using a marking pen, transfer and draw the oval onto the kayak. If you are installing two or more rod holders, go ahead and lay out the rest of them at this time. Double check the lay out(s). Make sure there is room for the rod holder to fit all the way in. Take your time!
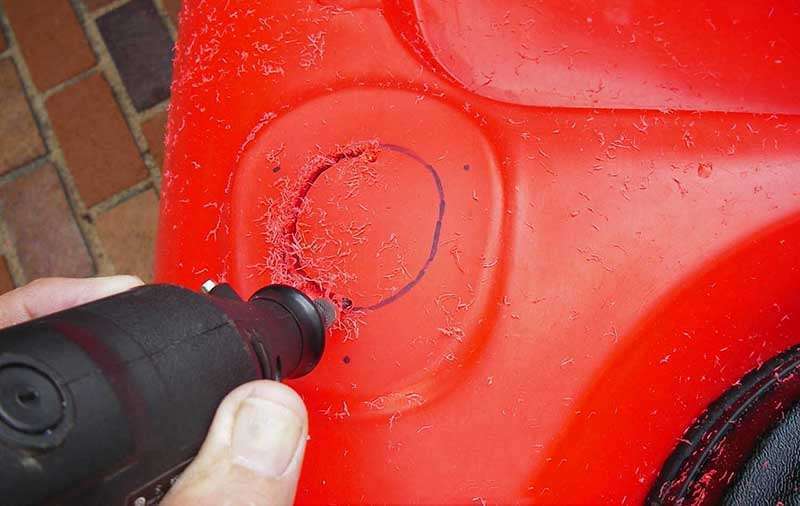
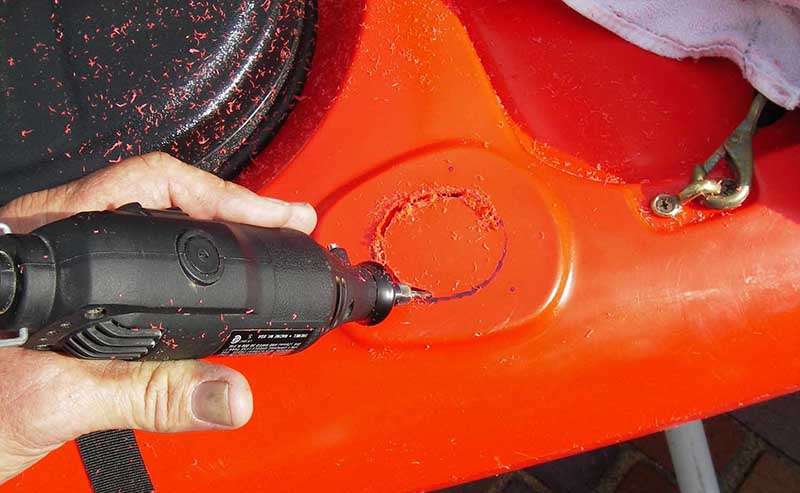
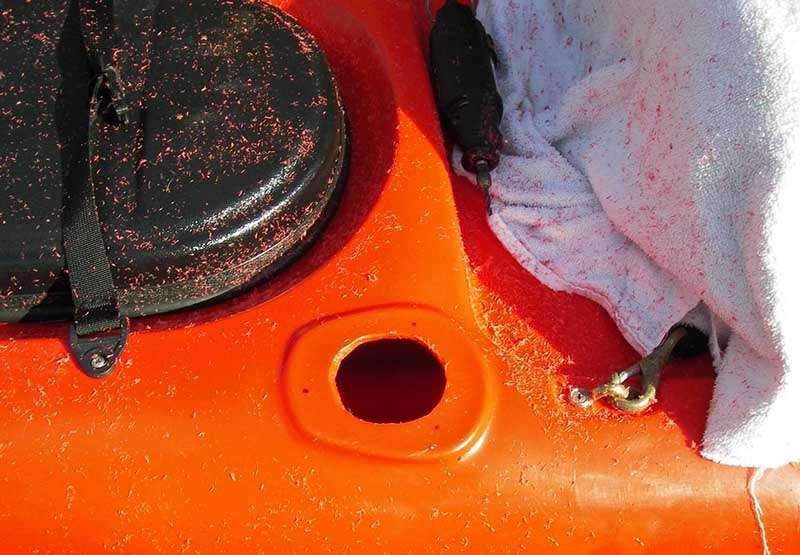
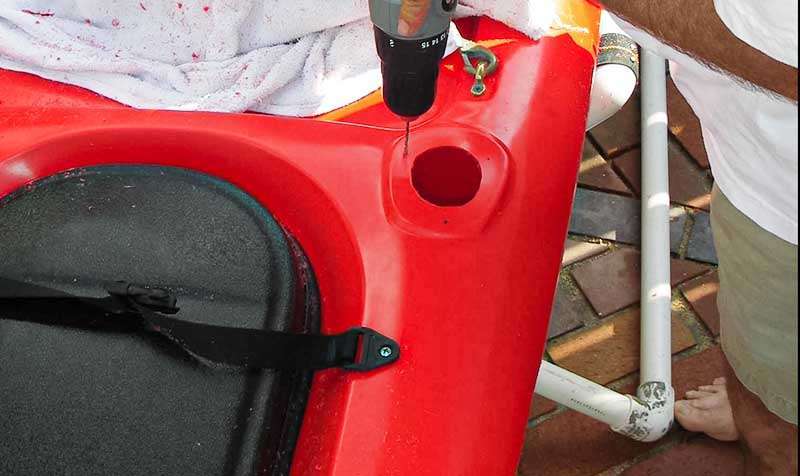
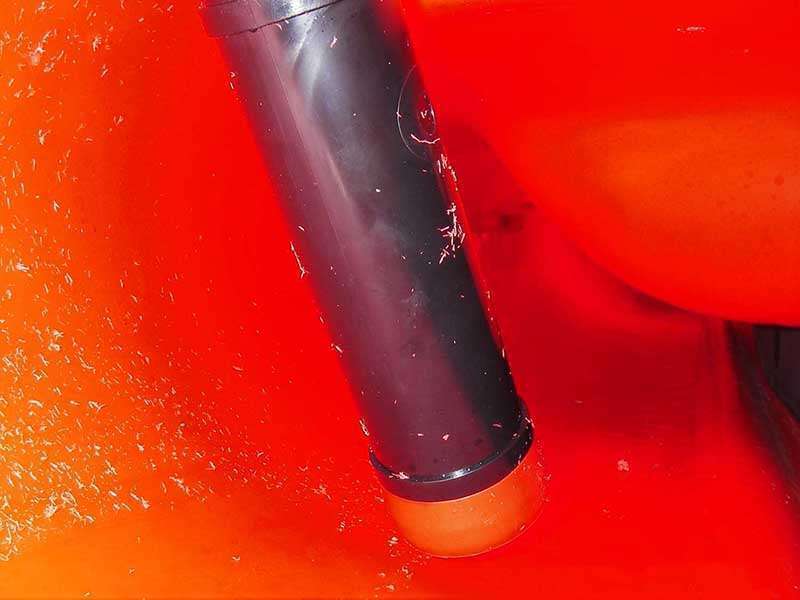
Now it’s time to drill. Drill the oval first staying on the inside of the oval with the tool. Check the fit of the rod holder in the hole You will probably need to trim the oval to make the rod holder fit tight and flat on the kayak. The top of the rod holder must fit flat. Once the rod holder is fitted, now mark the screw holes and drill with a 1/16″ drill bit. Remove the rod holder. At this point, the rod holder should slide in, not fall in, and sit flat on the kayak.
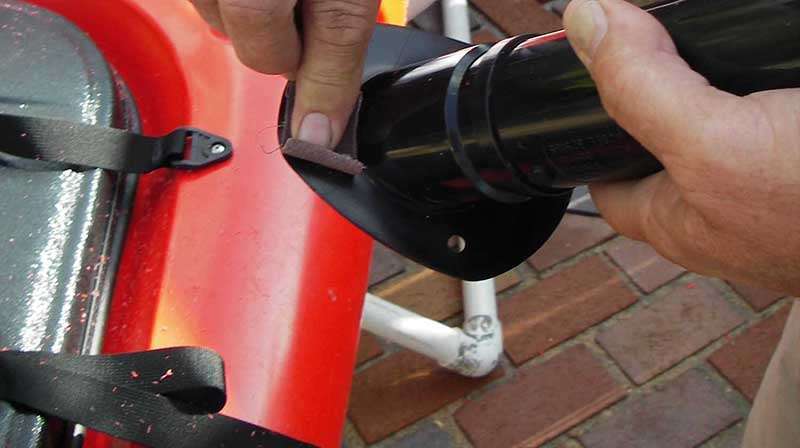
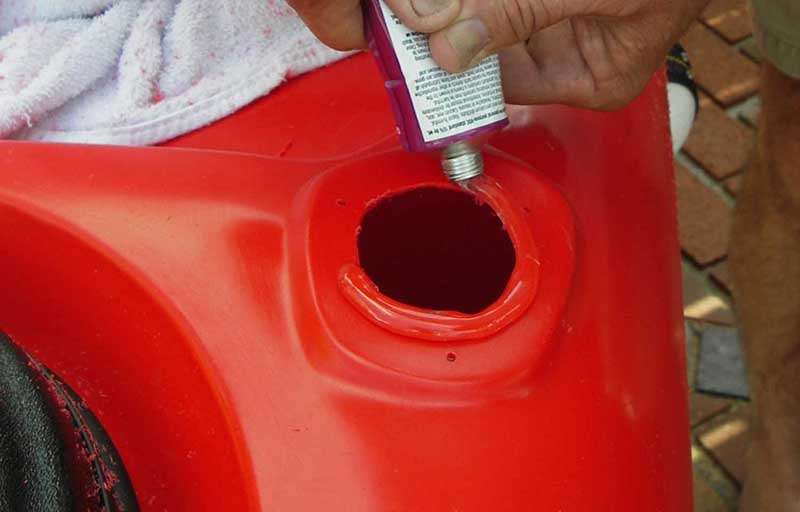
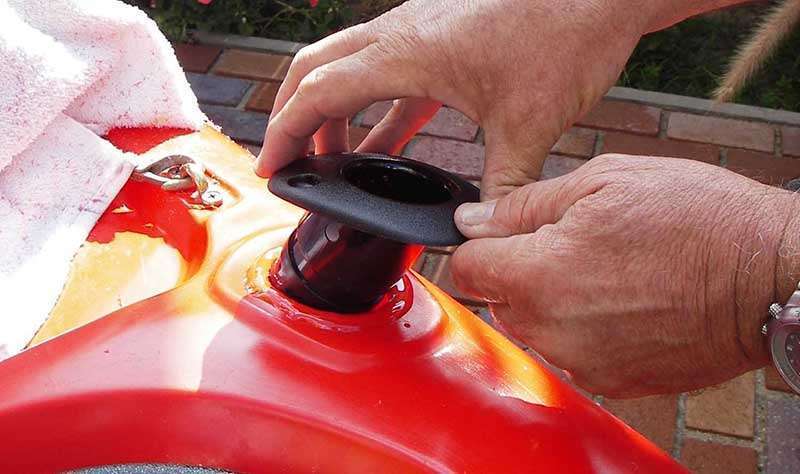
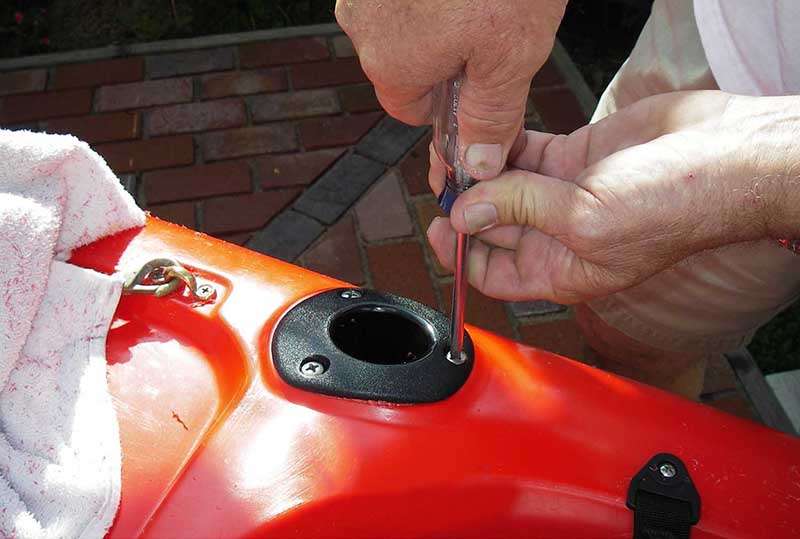
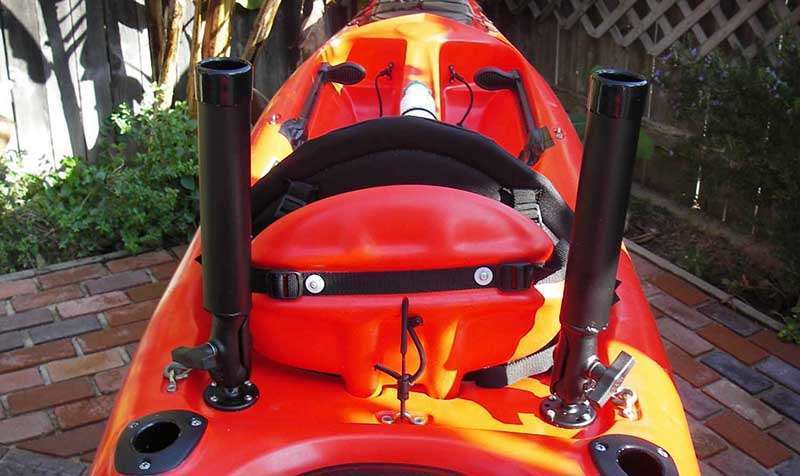
Now it’s time to glue and screw. Take some sand paper and rough up the bottom of the top of the rod holder. Do the outside of the oval area on the kayak also. Take GOOP (Marine adhesive you can find at hardware or marine supply stores) and put a bead around the oval. Place the rod holder into the oval and press down onto the kayak. Using a hand screw driver, place and tighten down screws. Hand tighten only. Do not over tighten them. You will feel them get snug. Let this all sit for 24 hours. Take a knife and trim any extra GOOP from the kayak and rod holder.
