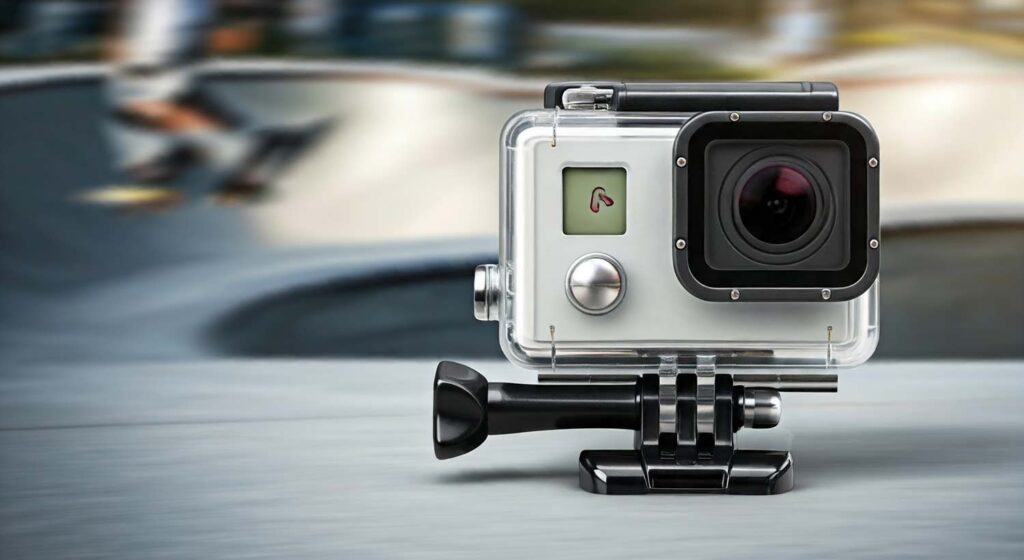
Using an action camera while kayaking can transform your adventure into a memorable visual journey. But, securing stunning footage from a kayak requires a bit more than just slapping on a camera. Here’s a guide to help you get the most out of your action camera during your next kayaking trip, with a few unique considerations that will make your footage stand out.
1. Mounting Choices: On-Body vs. On-Kayak
One key decision you’ll make early on is whether to mount the camera on your body or the kayak itself. Both have pros and cons depending on what kind of footage you want to capture.
- Chest Mount: This is a popular choice for its immersive perspective—giving viewers a sense of the paddling motion while still capturing the path ahead. Since the camera is mounted securely on your torso, it reduces excessive head movements and stabilizes your shot better than a helmet mount. Chest mounts are particularly great for sea kayaking, offering a steady angle even in choppy waters.
- Head or Helmet Mount: Great for whitewater enthusiasts, this option provides a more dynamic shot—showing where you’re looking with every rapid or wave. However, the added movement can make the footage a bit shakier, so you might need to rely on stabilization features during editing.
- Suction Cup or Clamp Mounts on the Kayak: Suction cup mounts allow for easy repositioning. However, these work best on smooth surfaces like fiberglass or hard plastic kayaks. Test your suction beforehand and consider using a tether to avoid losing your camera in case the mount fails (especially on rough, textured plastic surfaces)Outdoor WildsRobots.net. Suction cup mounts on the bow or stern can capture stunning wide-angle shots of the kayak cutting through the water.
2. Camera Settings to Optimize Footage
Understanding your camera settings is crucial for getting the best results. Here are a few to keep in mind:
- Resolution and Frame Rate: Aim for a minimum of 1080p resolution at 60 frames per second (fps) to capture smooth, high-quality footage of your journey. If you’re planning to capture slow-motion footage—say, when going through waves or rapids—bump the frame rate up to 120fps or even 240fps if your camera allowsGoBandit.
- Wide-Angle Field of View (FOV): Action cameras excel at wide-angle shots, which are perfect for capturing sweeping landscapes and your paddling action simultaneouslyGoBandit.
- Image Stabilization: As you won’t always be on calm water, stabilization is key to prevent shaky footage. Most modern action cameras, like GoPros or DJI Osmo, have built-in stabilization. Use it to smooth out the turbulence of the waterAqua Bound.
3. Battery and Storage Management
Out on the water, it’s not always easy to access your gear, so be prepared. Bring extra batteries and memory cards. Action cameras can drain batteries quickly, especially when shooting in high resolutions like 4K, or if you’re using features such as WiFi or voice control
A good tip is to disable unnecessary features (like GPS or WiFi) to save power, and consider carrying a portable solar charger or power bank—just make sure they’re waterproofed properly. Some kayakers opt for waterproof storage options like dry boxes or pouches to keep their spare batteries safe
4. Angles and Perspectives
Variety is key in creating engaging videos. By mixing up angles and perspectives, you can make your footage more dynamic. Try switching between these angles:
- Bow-Mounted Shot: Attach a camera to the front of your kayak facing you. This offers a unique “selfie” perspective and works well when the landscape behind you is dramatic. You can also flip it to capture the water flowing pastOutdoor Wilds.
- Stern-Mounted Shot: Mount a camera on the rear to record what you leave behind. It’s a great way to capture wake trails, especially when paddling fast or moving through turbulent waters.
- 360-Degree Cameras: If you want to capture every angle of your environment, a 360-degree camera like the Insta360 allows you to edit and choose the best angle later onAqua Bound. However, these cameras require additional post-processing.
5. Keeping the Camera Dry and Safe
Even waterproof cameras need some protection. Saltwater, in particular, can damage cameras over time if not properly cleaned. After every saltwater trip, rinse your camera thoroughly with fresh water to avoid corrosion. For added security, use a waterproof housing if you’re planning to kayak in more extreme conditions
Additionally, using a flotation device or a tether is a good safety measure. Cameras that fall into the water without a float may be difficult, if not impossible, to retrieve
6. Field Testing Your Setup
Before your big trip, spend time field-testing your setup. This means checking the stability of mounts, the clarity of your shots, and whether your camera remains water-tight during rough conditions. Adjust your mounting points, angles, and settings based on the footage you gather in these tests
7. Safety and Practicality
Always prioritize safety over footage. Make sure the camera mounts don’t interfere with your paddling or balance. For instance, don’t overload the kayak with too many cameras or place mounts in locations where they might snag your paddle or gear.
Also, it’s wise to turn off your camera or use voice control when not actively filming to save battery and storage. Since you can always turn it back on quickly when a noteworthy moment arises, you’ll be conserving power and memory for the highlights
In Conclusion:
Using an action camera while kayaking requires thoughtful planning—balancing great footage with keeping your gear safe and functional. With a few well-chosen mounts, the right settings, and a bit of creativity, you’ll be able to record stunning adventures on the water. Whether you’re paddling serene lakes or tackling fast rapids, the right camera setup can capture every thrilling moment.

